With all the different digital tools out there, making engaging and informative content can be tough. But it doesn't have to be! Whether it's a tutorial, product demo, or live stream, combining screen recordings with onscreen webcam footage can really bring your video content to the next level.
This comprehensive guide will walk you through the process of recording your screen and webcam at the same time, so you can make sure you don't miss any of the important stuff.
Why Record Screen and Webcam Together?
There are several advantages to learning to record your screen and webcam simultaneously.
- Enhanced Clarity: Show your audience what you’re doing on-screen while giving them a heads-up through your webcam feed. This makes your presentation more engaging, and it’ll make your message stick in their minds.
- Personalized Engagement: Adding your webcam footage makes it feel a bit more personal, which helps you build a stronger bond with your viewers.
- Multitasking Efficiency: Knowing how to record myself and my screen makes the whole recording process go a lot faster and easier, saving you a lot of time.
What Tools Can You Use?
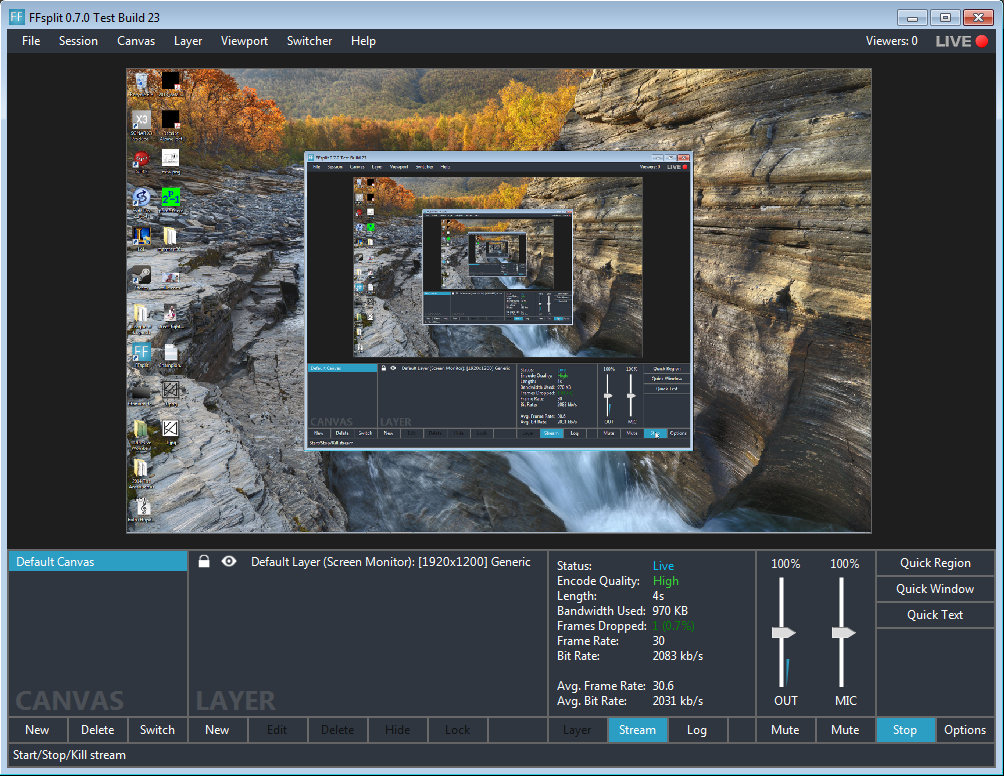
Before we get into the nitty-gritty, let's take a look at some of the popular tools out there for figuring out how to record camera and screen at the same time.
OBS Studio (Windows, Mac, and Linux)
OBS Studio is an awesome, free software program that’s known for being super versatile and packed with cool features. It’s got a bit of a learning curve, but once you’ve got the hang of it you’ll have unparalleled control over your recording setup.

QuickTime Player (Mac)
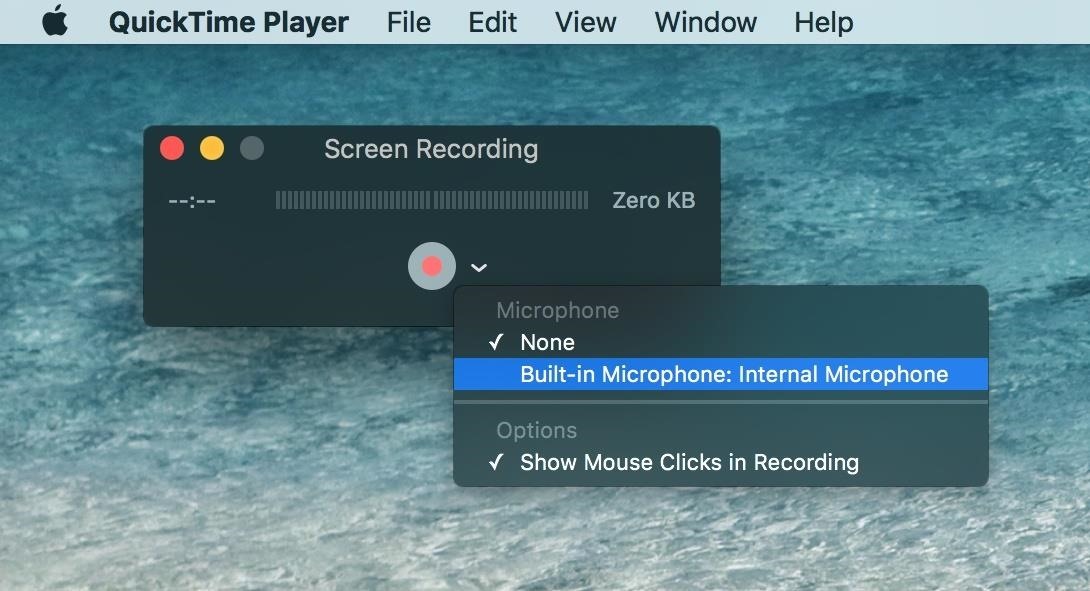
For Mac users, QuickTime Player is a handy choice. It doesn't offer a ton of advanced customization, but it's a simple way to capture webcam and screen recorder at same time. Furthermore, it’s free.

Notta (Windows and Mac)
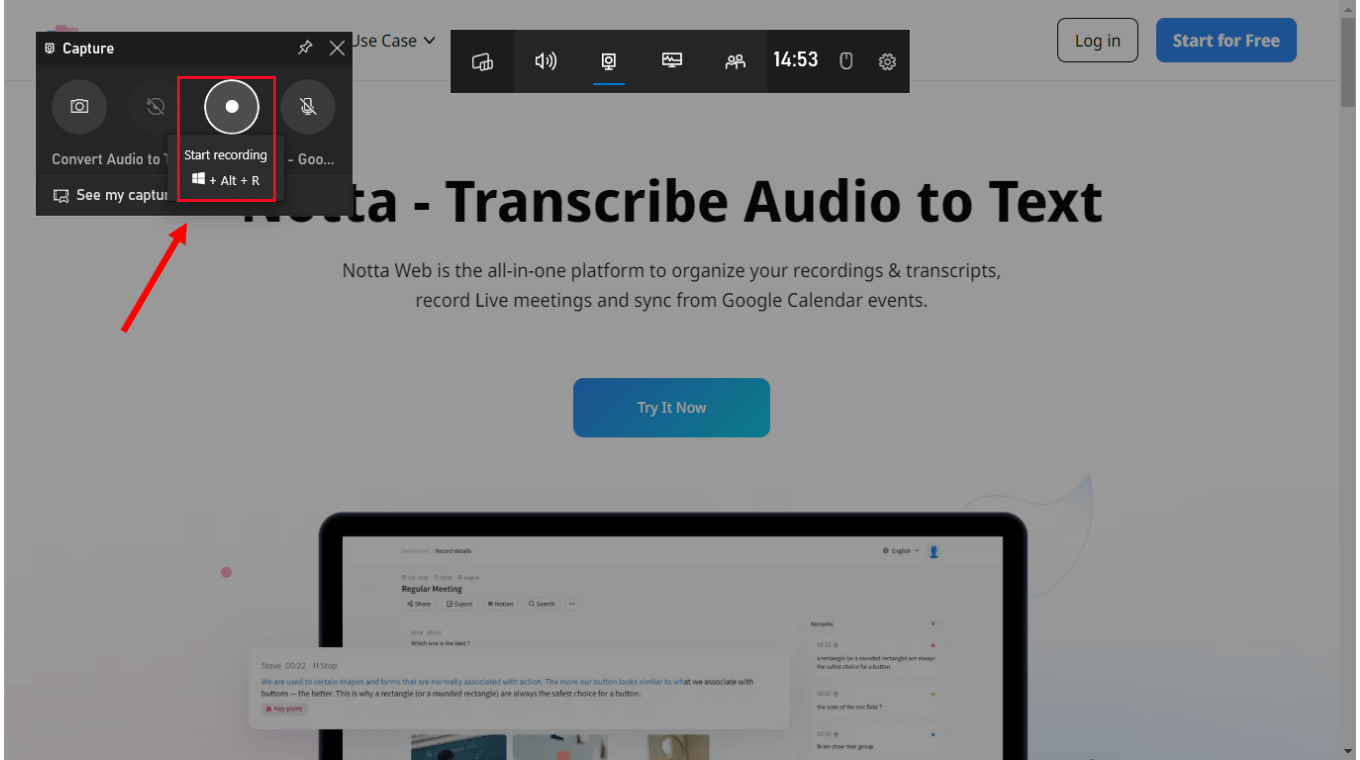
Notta is an easy-to-use screen recorder that makes it simple to capture your screen and webcam at the same time. With a clear, user-friendly interface and plenty of robust features, it's a great tool for both beginners and professionals alike.
The tool has a free plan, but you’ll be able to record only videos that are 3 minutes long with it. To get more wiggle room, you would have to upgrade to the “pro” plan which costs $9 per month.

How to Record Screen and Camera at the Same Time on Windows
Let's take a look at how you can record your screen and webcam simultaneously using OBS Studio.
<iframe width="560" height="315" src="https://www.youtube.com/embed/uL8BwstqiqE?si=i9OiSGVHMzhTI_-C" title="YouTube video player" frameborder="0" allow="accelerometer; autoplay; clipboard-write; encrypted-media; gyroscope; picture-in-picture; web-share" referrerpolicy="strict-origin-when-cross-origin" allowfullscreen></iframe>
Step 1
Head over to the OBS Studio website to get the app and then just follow the instructions to install it. Once you’ve got that done, launch the application and connect your webcam to your computer.
Step 2
In the OBS Studio interface, find the "Sources" section and click the "+" icon. Select "Video Capture Device" and choose your webcam from the list of available devices.
Step 3
Next, go back to the "Sources" section and click the "+" icon again. This time, select "Display Capture" to capture your screen. You can either record your whole screen or choose a particular window or region when capturing screen recording and webcam.
Step 4
With OBS Studio, you can resize and reposition your webcam and screen sources right in the preview window to get them just how you want them.
Step 5
Once you've got your sources ready, just hit the "Start Recording" button. That'll get OBS Studio going, and it'll start capturing both webcam and screen recorder at the same time.
Step 6
Once you're done, just click on the "Stop Recording" button and you're all set. OBS Studio will automatically save your recording in the directory you specified.
How to Record Camera and Screen at the Same Time on Mac
Let's take a look at some ways you can use QuickTime Player to record your screen and webcam in one go.
<iframe width="560" height="315" src="https://www.youtube.com/embed/mLyPrblmPp4?si=FCvEkmV5CaYjMjjl" title="YouTube video player" frameborder="0" allow="accelerometer; autoplay; clipboard-write; encrypted-media; gyroscope; picture-in-picture; web-share" referrerpolicy="strict-origin-when-cross-origin" allowfullscreen></iframe>
Step 1:
Just go ahead and open QuickTime Player on your Mac. Then, go to the “File” menu and choose “New Movie Recording.” This will bring you to your webcam feed.
Step 2:
Go to the View menu, then select “Float on Top” to make sure your onscreen webcam window stays visible while you’re recording. You can also resize and reposition it as you like.
Step 3:
Go back to the "File" menu and select "New Screen Recording." That'll let you record whatever's on your screen, the whole screen or just a section.
Step 4:
Click the "Record" button to record self and screen at same time.
Step 5:
Press the "Command + Control + Esc" key combination to stop the recording, and QuickTime Player will show you the video right away. You can then perform any basic editing tasks you need.
Tips on How to Record Screen and Camera at the Same Time
If you want to get better results when creating your video content, here are a few tips to try:
- Lighting: Make sure there's enough light in the room where you're recording to get the best possible video quality with your webcam.
- Audio Quality: If you're going to be talking or commenting during your recordings, it'd be a good idea to use a dedicated microphone or headset to get clear audio.
- Decluttered Background: It’s good to keep your background clean and distraction-free so you and your screen recording and webcam footage look professional and polished.
- Rehearse and Plan: It's always a nice idea to practice your on-screen actions and narration before a recording session. That way, you can make sure that everything ties in well and the actual recording process will go a lot smoother
{{blog-ad}}.
Elevate Your Recordings with Screen Story
Screen Story is a new and innovative screen recording tool that can turn your ordinary videos into amazing masterpieces. Its features and easy-to-use interface make it possible for anyone to create high-quality videos, GIFs, and more. You don't need to be an expert video editor to get started and to record self and screen at same time.
<iframe width="560" height="315" src="https://www.youtube.com/embed/PSOSrL7NrWE?si=bveJlKcoUEXpFOJw" title="YouTube video player" frameborder="0" allow="accelerometer; autoplay; clipboard-write; encrypted-media; gyroscope; picture-in-picture; web-share" referrerpolicy="strict-origin-when-cross-origin" allowfullscreen></iframe>
Key Features:
- Automatic Zoom: Screen Story does a great job of zooming in on what you’re doing on your screen, focusing on the most important stuff.
- Smooth Cursor Movement: Your recordings will look and feel more professional with smooth, fluid animations created from rapid cursor movements.
- Multi-Export Options: You can choose from a bunch of different export formats, including GIF, MP4, 60FPS, and 4K, which are all designed for different platforms and purposes.
- Easy Recording: You can easily capture the whole screen or just a specific window on your Mac with this software.
- Voice Recording: Add some pizzazz to your videos by recording a voiceover or commentary.
- Customizable Backgrounds: Pick the perfect background to match your brand style and make your design pop.
- Selfie Camera Support: Wondering how to record myself and my screen? You can easily mix your webcam video with your screen recording, creating dynamic and engaging content.
Get the most out of your screen and webcam recordings with Screen Story.
Create stunning videos with Screen Story
Record your screen with audio and create stunning videos without editing skills. Screen Story applies the best design patterns to the video automatically.


.webp)

.webp)

.webp)