


Google Slides just got a lot more powerful with the introduction of video recording! Now presenters can capture their screen and voice to create engaging video content for audiences worldwide.
With the help of this comprehensive guide, you’ll discover everything you need to know about how to record a video on Google Slides.
A Few Things to Remember
Before learning how to record yourself on Google Slides, it's important to check that you have all the right stuff. Here's what you'll need:
- Google Chrome Browser: You can only use the video recording function in Google Slides if you have the Google Chrome browser. You can create and edit presentations using other browsers, but you can't use the Chrome browser for recording at the moment.
- Editing Permissions: To start recording, you'll need to have the editing permissions for the Google Slides presentation you're working on. If you're the one who created it, then you'll already have these permissions. But if you're just a collaborator, make sure that the owner has given you the green light to edit.
- Your PC: Can you record presentation on Google Slides from your phone? At the moment, you can’t create Google Slides recordings on your smartphone.
How to Record Yourself on Google Slides: A Step-by-Step Guide
Once you've got the ball rolling, we can move on to the nitty-gritty of recording your Google Slides presentation.
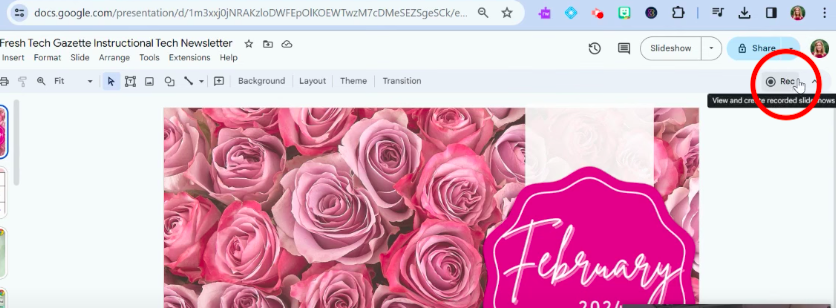
Step 1
So, how to record on Google Slides?
To start recording your presentation, simply open the document in Chrome and go to the top of the screen. There, you'll find a "Record" icon, which will take you to the recording interface.
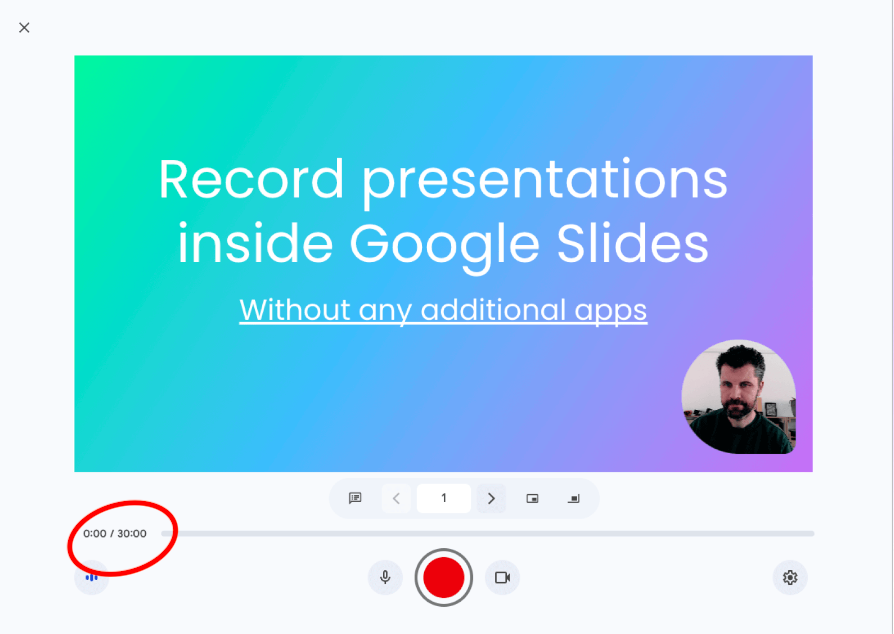
Step 2
When you click the "Record" icon, a user-friendly setup screen will appear. This allows you to tweak various settings for your recording. For example, you can adjust your microphone and camera settings here to ensure that your audio and video are captured accurately.
The “How to screen record Google Slides” tutorial wouldn’t be complete if you didn’t find out how to change the way you look in the presentation.
The good news is that you can also customize the picture-in-picture (PiP) size and position to control how your camera feed is displayed within the presentation.

Step 3
Once you've got your settings all set up, you are now finally ready to learn how to record on Google Slides. Just click the big red "Record" button, and it'll start up. You'll see a pop-up asking you to grant access to your microphone and camera—just click OK.
You can easily navigate through your slides during recording using the handy directional arrows.
Step 4
How to record myself presenting a Google Slides? The feature allows you to turn your camera on and off whenever you feel like it.
Furthermore, the recording function has lots of other cool features to make your presentations better. For example, you can mute your microphone for certain parts and customize the picture-in-picture display to your liking.
You can also access speaker notes in the presenter view without them showing up in the final recording. This lets you refer to your notes while keeping your eyes on the camera, which makes it easier to be natural and engaging.

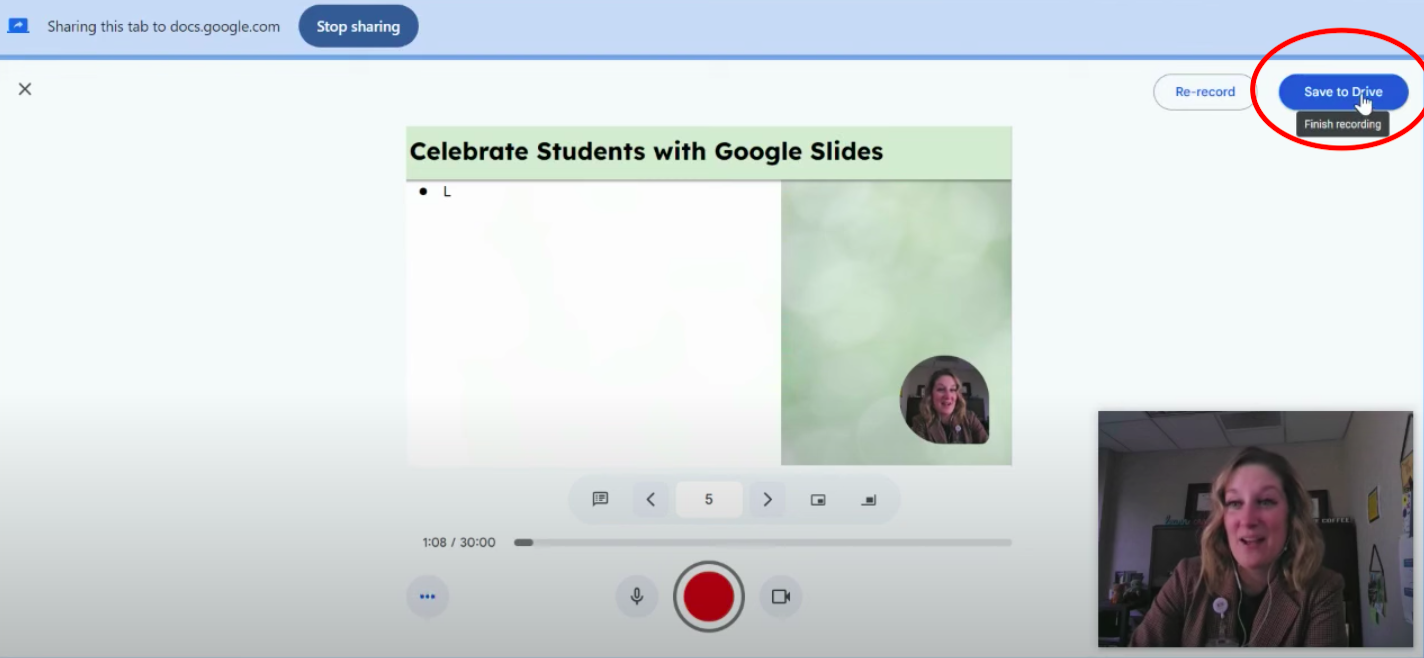
Step 5
While you're recording, you can pause the process temporarily by clicking on the central record button. This is a great feature if you need a quick break or want to deal with any unexpected interruptions. Just click the button again to get back to recording.
How to screen record Google Slides and delete the parts that you’re not fond of?
If you don't like what you've recorded in a certain part of the presentation, you can just hit the Re-record button and start over from the beginning of the slide. That way, you won't need to redo your whole presentation to capture your best performance.
Once you've finished recording, just click the "Save" button to start the upload process. Your recording will be saved in a folder called "Slides Recordings" within your Google Drive, so it'll be easy to find and share later on.
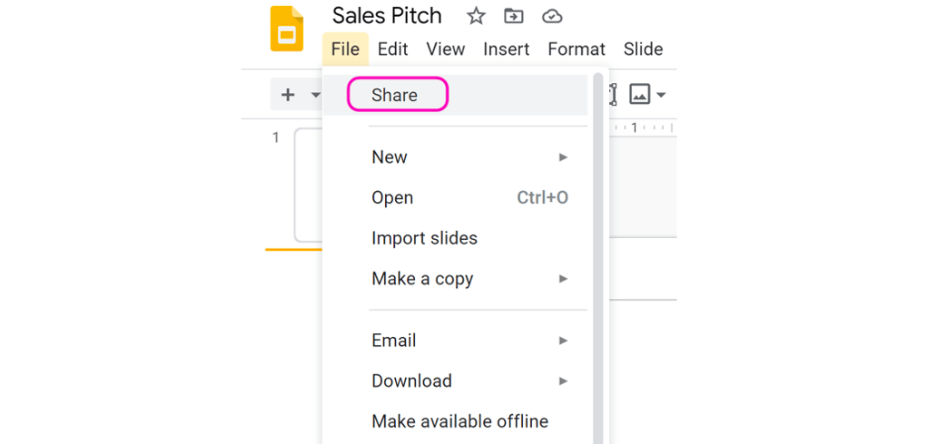
How Can You Share Your Recordings?
Screen recorder Google Slides makes it easy to record presentations, and it works seamlessly with the entire Google Workspace ecosystem. This means you can share and collaborate with recordings in a snap.
Sharing Recordings
You already know how to record myself presenting a Google Slides. But what can you do with the recording when you’re done?
Once you've saved your video, you can share it with others in lots of different ways. You can move the file to a shared drive or share it directly with specific people you work with, so they can view and navigate your recorded presentation.
This sharing feature is really handy for remote teams because it lets you deliver presentations to colleagues or clients in different time zones or locations.
Also, editors can rename recordings in the file or in Google Drive, which makes it easy to keep track of different versions of the same presentation.
Timestamp Sharing
In another update, Google lets us share videos with our colleagues or clients by sending them a link to a specific point in the video. This is great when we need to guide people or give them a reminder. It's useful for technical support, policy updates, and more.
Limitations and Considerations
Google Slides is a great tool for video recordings, but it's important to understand its limitations and potential issues.
- Time Limit: Right now, you can record Google Slides only for 30 minutes at a time. This should be enough for most presentations, but if you need to record something longer, you might need to split it into multiple sessions.
- Browser Compatibility: As mentioned before, you can only access the recording feature via the Google Chrome browser at this time. Those using other browsers will need to switch to Chrome to take advantage of the feature.
- Mobile Accessibility: Screen recorder Google Slides is not available on mobile devices or in the Google Slides mobile app at the moment. But you can view and manage your recordings from the Google Drive mobile app.
How to Record a Video on Google Slides: Final Thoughts
Can you record presentation on Google Slides? The answer used to be ‘no’. But not that long ago the company introduced such an amazing feature. In fact, Google Slides' video recording feature is a game-changer in the world of presentations.
Follow the steps in this article to learn how you can use this awesome tool to create engaging videos with your team, collaborate effortlessly, and deliver high-quality presentations all around the globe.
{{blog-ad}}
Step Up Your Video Recording Game with Screen Story
Google Slides is a great tool for making videos, but it could always be improved. And we've got just the thing for you: Screen Story is a fantastic screen recording tool for Mac.
<iframe width="560" height="315" src="https://www.youtube.com/embed/PSOSrL7NrWE?si=qOUnyVeRxI9NRTSb" title="YouTube video player" frameborder="0" allow="accelerometer; autoplay; clipboard-write; encrypted-media; gyroscope; picture-in-picture; web-share" referrerpolicy="strict-origin-when-cross-origin" allowfullscreen></iframe>
With Screen Story, you can record Google Slides or anything else happening on your screen and turn boring recordings into something special in just two minutes. Record your screen and create stunning video demos, and GIFs for websites, tutorials, and social media stories with ease.
Tired of struggling with all that complex video editing software? Screen Story is here to save the day. Just record your video the same way you usually do, and the tool will apply all the top design patterns, giving you a polished, professional result. No editing skills are needed!
Create stunning videos with Screen Story
Record your screen with audio and create stunning videos without editing skills. Screen Story applies the best design patterns to the video automatically.

.webp)

.webp)